How To Improve The Quality Of Your Scans
Genius Scan is a scanner in your pocket, and it does everything it can to get you legible scans out of the box. That being said, The Grizzly Labs team wrote this guide on what you can do to further improve your scans’ quality from our own experience.
Although taking a quality scan is very simple, you can improve your scans’ quality by having the following best practices in mind, ensuring you take your scans in the best conditions, and using Genius Scan’s quality-enhancing settings.
Find a clean surface to scan your document
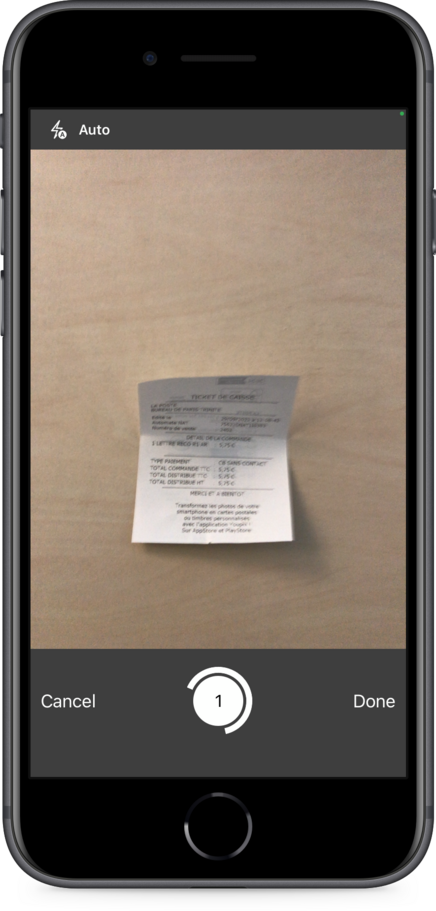
You first want to lay your document on a flat surface to get a nice flat scan. This is extremely important as if you put it on an uneven surface, your scanned document will be distorted.
The best places to lay your document for scanning are a table or the ground. Not your keyboard or your thighs.
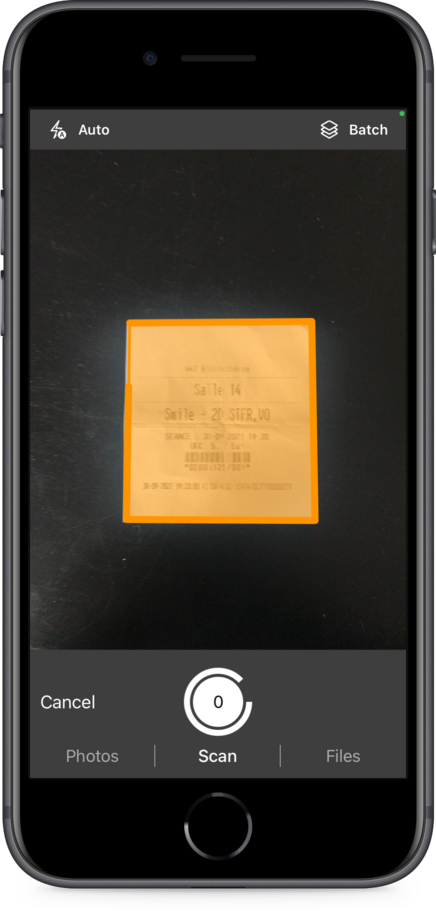
And while you’re at it, make sure you put your document on a flat surface with a plain background with no objects that could interfere with the scan. For example, a striped tablecloth, pens, or books might mess with Genius Scan’s auto-crop feature and force you to edit your scanned document.
You want your document to be the only thing appearing on your screen, which goes for other papers too. Don’t scan your document on top of another paper or a pile of papers. The edge detection feature of Genius Scan will not know which edge belongs to which document and might distort your scan.

Always scan your documents one by one.
Remove creases as much as possible in folded documents. When your document has been folded, achieving a nice flat scan might get harder. But there is a simple tip to remedy this problem.
If your document has been folded horizontally and forward, fold it back vertically to get it flat again.
Jerome, our Business Developer, relies on the auto-crop feature to detect the edges of a folded document: “If the document is too folded, I sometimes use a book, a straight-edged object, or even a finger to hold one or more sides or corners of the document. I then rely on the auto-detection feature to detect the new edge and create a clean border that removes objects at the corners.”
Let there be (enough) light
Ensure you have good light before taking your scan, especially in the evening or at night.
During the day, it is better to scan your documents near a window than under your lamp, as natural light is preferable because it is more diffuse.
If unavailable, the best is to direct a lamp towards a surface as white as possible to emit a diffuse light and not generate shadows on the scanned document.
The more surrounding light there is, the sharper your scans will be.

The key is to get as little shadow as possible on your scans.
Here’s what John, our R&D engineer, does when trying to remove shadows from his scans: “If I get a shadow of the phone on my scan, I take the picture again but with a different angle so that the shadow is on one side of the document. I then rely on the clean border feature so that it disappears when I enhance the image.
“If it’s still not satisfactory, I try with the flash, hoping that its reflection doesn’t burn the colors, and then again, I tilt my device to cast the shadow in an empty area of the page.”
Get it close enough to your device
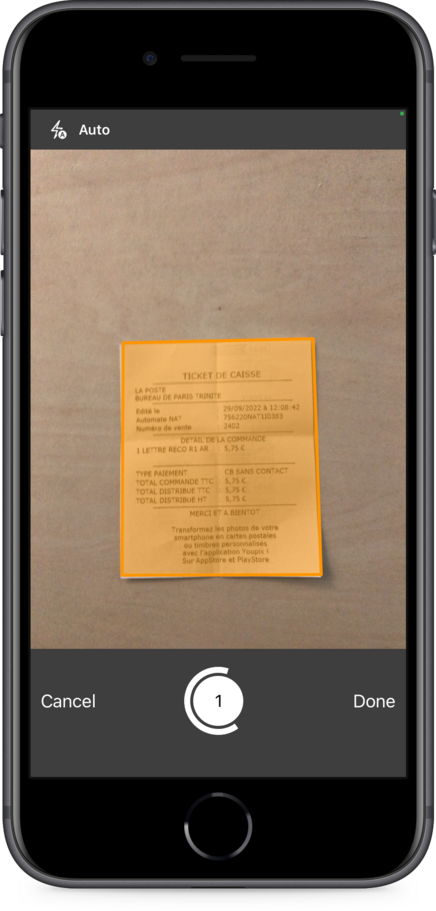
The size the image takes on your screen, and its orientation will help improve the resolution of your scan. Instinctively, people ensure their documents fill about 80% of their screen… and that’s just the perfect number to allow for a clean cut of its edges and to maximize its resolution.
If the document you wish to scan is in a landscape format, then scan it that way and let Genius Scan’s auto-rotate feature automatically put it in portrait orientation on your app.
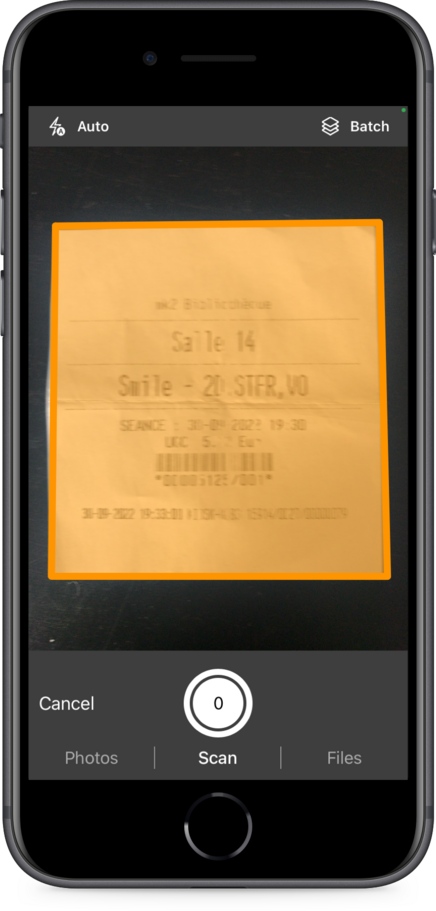
Suppose Bruno, Genius Scan’s co-founder, considers the automatic edge detection not to work correctly. In that case, he will “try to get (his) phone closer to the document to scan, or simply move it to a new location and try again with better light.”
Don’t shake and keep focus
To get a crisp and sharp scan, hold your phone steady. Do not scan sideways; hold your device straight in front of you, aligning with your document. Then make sure the camera lens is clean and that everything is legible before taking the photo. If the photo looks blurry, the scan will be blurry. If needed, tap on your screen to direct your device’s focus on your desired area.
Thanks to Genius Scan’s auto-capture and auto-crop features, Guillaume, Genius Scan’s co-founder, “lets Genius Scan take the picture automatically about nine times out of ten. Staying steady until the scan is captured and the preview appears.”
Edit your scans
If your scan isn’t perfect, which is fine as no one is perfect, Genius Scan provides you with multiple ways to edit your scans by tapping on the edit button (a magic wand on iOS and a shining square on Android).
If you have too much or not enough borders, or your document’s not been appropriately cropped, you can crop it manually using the recrop button in the edit tab. For photos, we suggest cropping a little bit inside the image to ensure you don’t see an extra border along the photograph’s edges.


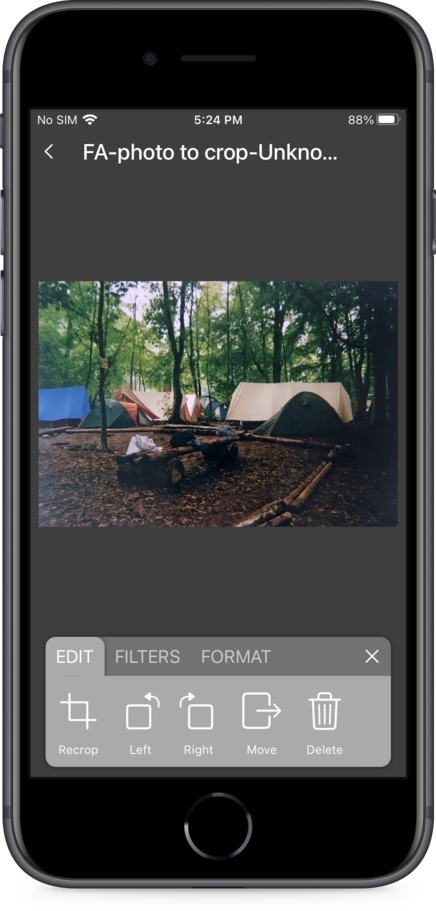
Cropping any extra borders is paramount to improving the quality of text recognition.
Genius Scan also provides built-in filters. Do not hesitate to change them to match your needs. For instance, you can use the Photo or the Color filters if you need colors.
- “When I have doubts about the quality of a page, I don’t hesitate to change the filter or correct the crop; then I zoom in to check that the text is clearly visible.” -*Emmy, Android developer.
When exporting a scan, Imanou, an iOS developer, “always exports it with the highest quality, just to ensure I have the sharpest scan possible. Unless I’m sending it via email, then I reduce its quality resolution, so I don’t have too big an attachment,”
To conclude
Now you know how to avoid low-quality scans with your portable scanner, Genius Scan.
If you ever need a short reminder of these best practices: you can check out this brief article on our Help Center.