Genius Scan for Expense Reports Tutorial
Genius Scan is widely used by small business to facilitate the management of expense reports. It's especially useful to let agents on the field submit their expenses to the company's accounting department.
Follow these few steps and make your life easier!
Step 1 - Open Genius Scan
The main view shows your documents and allows you to start scanning. Tap the "Camera" button to start scanning:

Step 2 - Scan a receipt
Take a picture. Make sure there is enough light and that there is no dark shadow on the document.

Step 3 - Select the receipt
Genius Scan auto-detects the page for you. You can adjust the selection by dragging the grid (you can drag anywhere, you don't need to hit the corner). Tap "Use" to validate.

Step 4 - Crop and enhance
Genius Scan crops and enhances the image to make it more readable. You can choose a different enhancement under the "Enhancement" button at the bottom left.

Step 5 - Export a single scan
You can now decide to export that single page. Hit the export button at the bottom right to export this scan. You can choose between the PDF and JPEG export file formats. Choose the desired export method. Some of them (Box, Dropbox, Evernote, Expensify, Google Docs) are only available in Genius Scan+. Choose the export format and method convenient for you or the one recommended by your company. Expensify is one of the available method and is designed to help businesses manage expense reports.

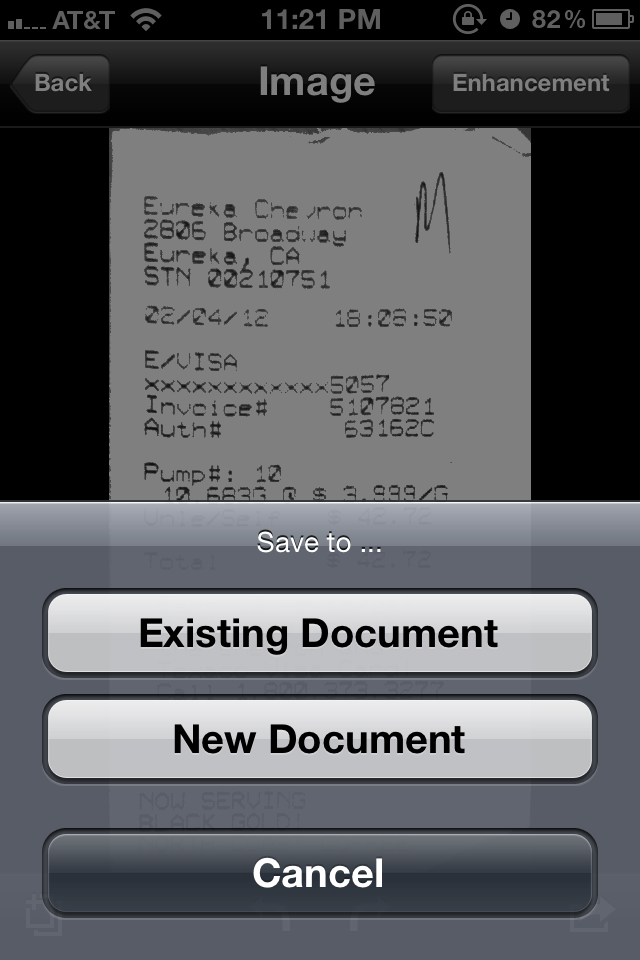
Step 6 - Creating a multi-page document
You can also save this scan into a multi-page document. Multipage document allow you to group multiple receipts together. Tap the "Save" button at the top right and choose either to add the page to an existing document or to create a new document.
Step 7 - Choosing an existing multi-page document
You can choose an existing document to group related expenses together.

Step 8 - Exporting a multi-page document
You can then view the multi-page document. The export button at the bottom-right will let you export the document as a multi-pages PDF.

Bonus - Setup a default email address
If you regularly send to the same email address (eg. expenses@mycompany.com), you can set it as default "To:" email address in the Genius Scan settings.