Backup and Restore your Data in Genius Scan for Android
The most common case for using this feature is when you get a new device and you want to transfer your documents. It can also be useful when you were using Genius Scan and you purchase the Genius Scan+ app to transfer your documents from one version to the other (though the most practical way to upgrade to Genius Scan+ is to do it from the free version with an in-app purchase).
And of course, you can also regularly backup your Genius Scan data if you work with important documents and you don't want to lose them in case your device breaks or gets stolen.
So, how does it work?
Backup Genius Scan data
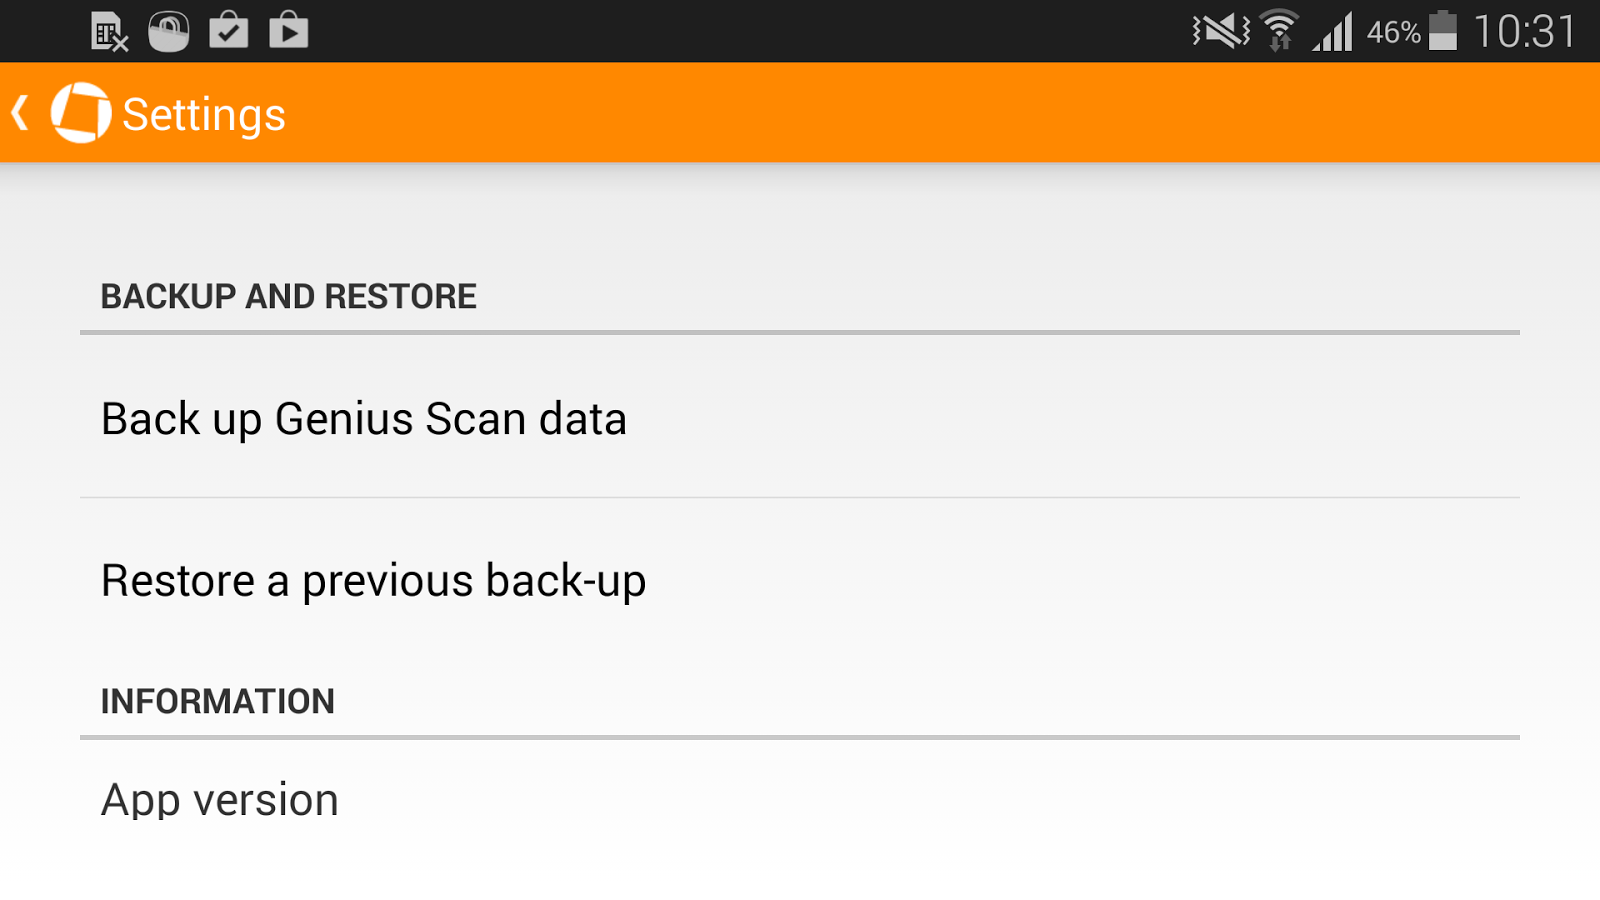
To create a backup, open the Genius Scan settings and select Backup
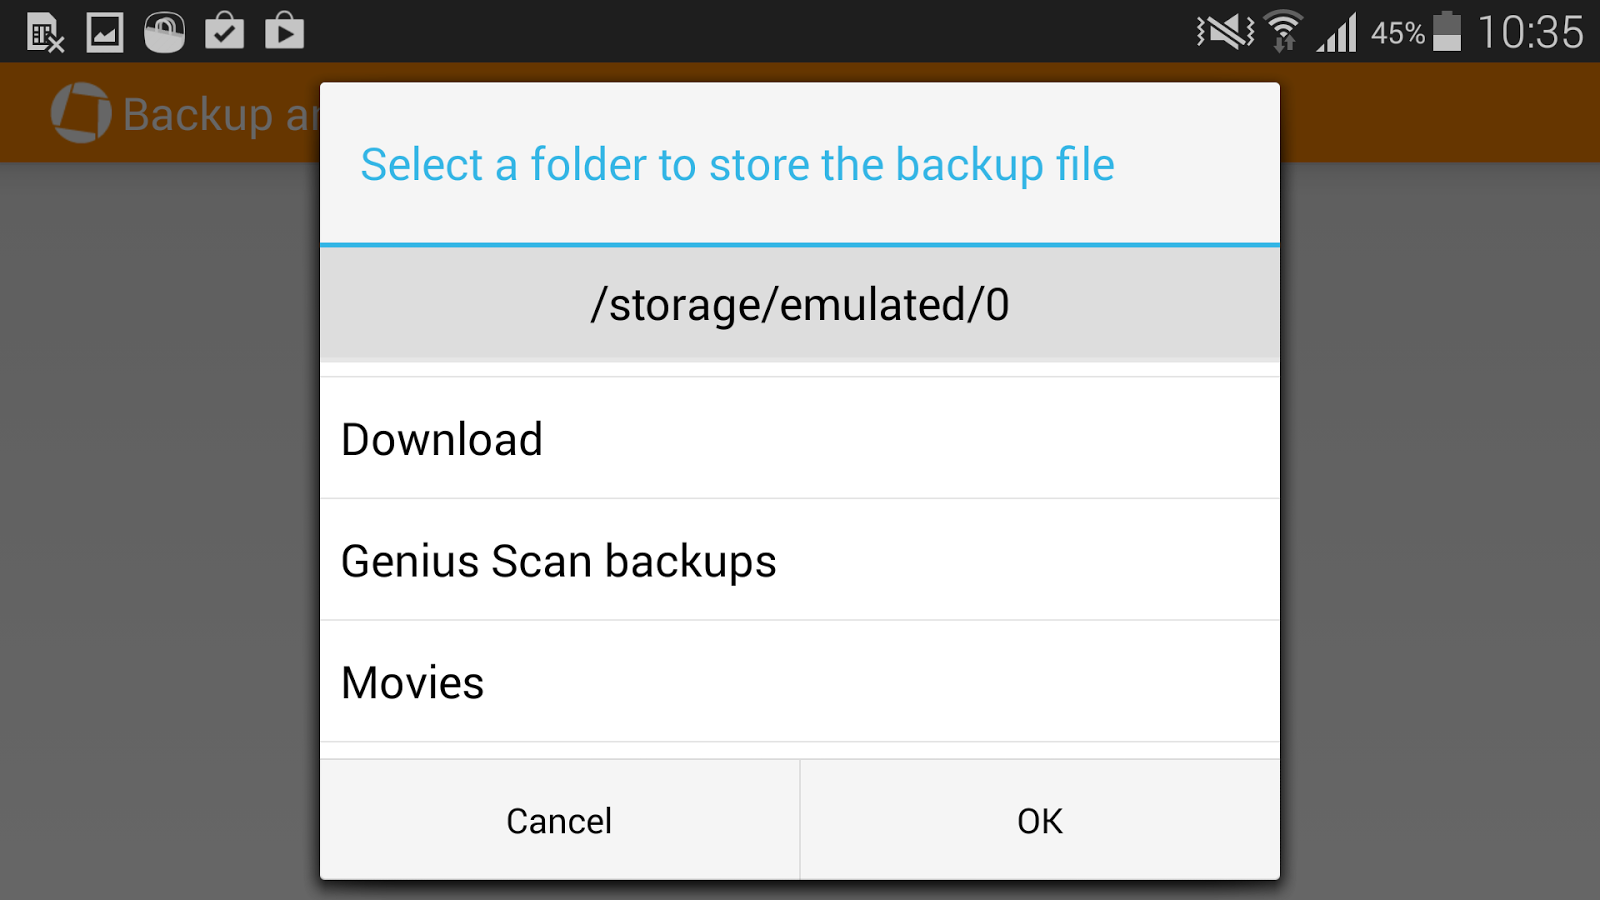
Then, select a folder where the backup file will be saved
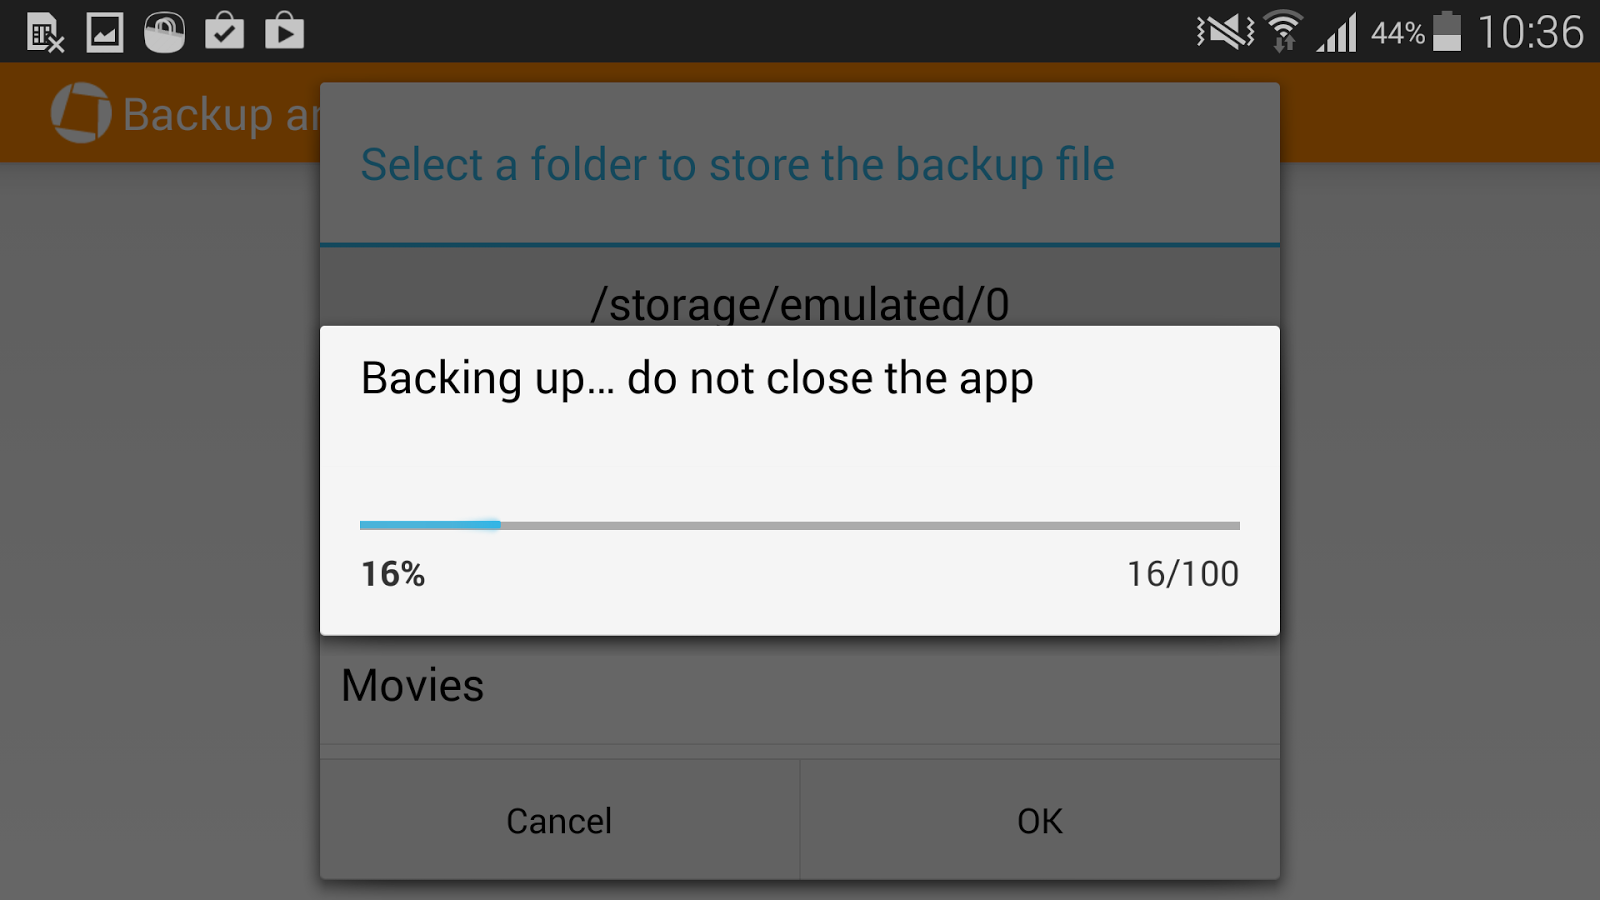
The backup can take several minutes or more, depending on the number of documents you have. Do not close the app during the backup operation.
After the backup is complete, a file named with today's date and a ".gs-bck" extension is created in the folder you selected. You can move this file to your computer or to another device.
Restore a backup
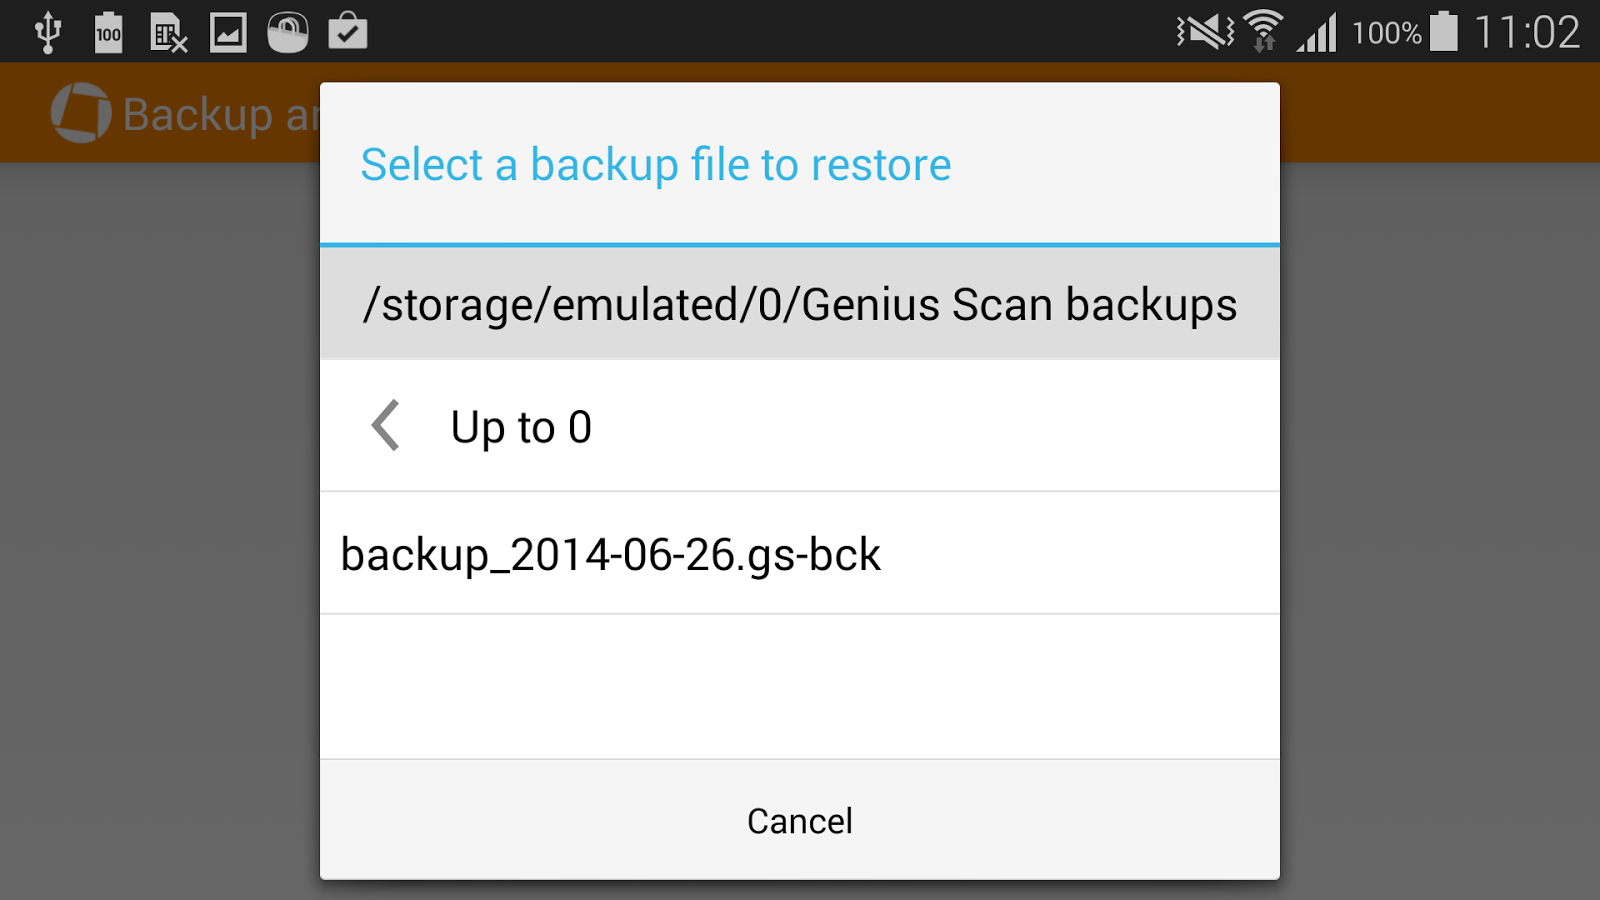
Similarly, open the Genius Scan settings and select Restore a backup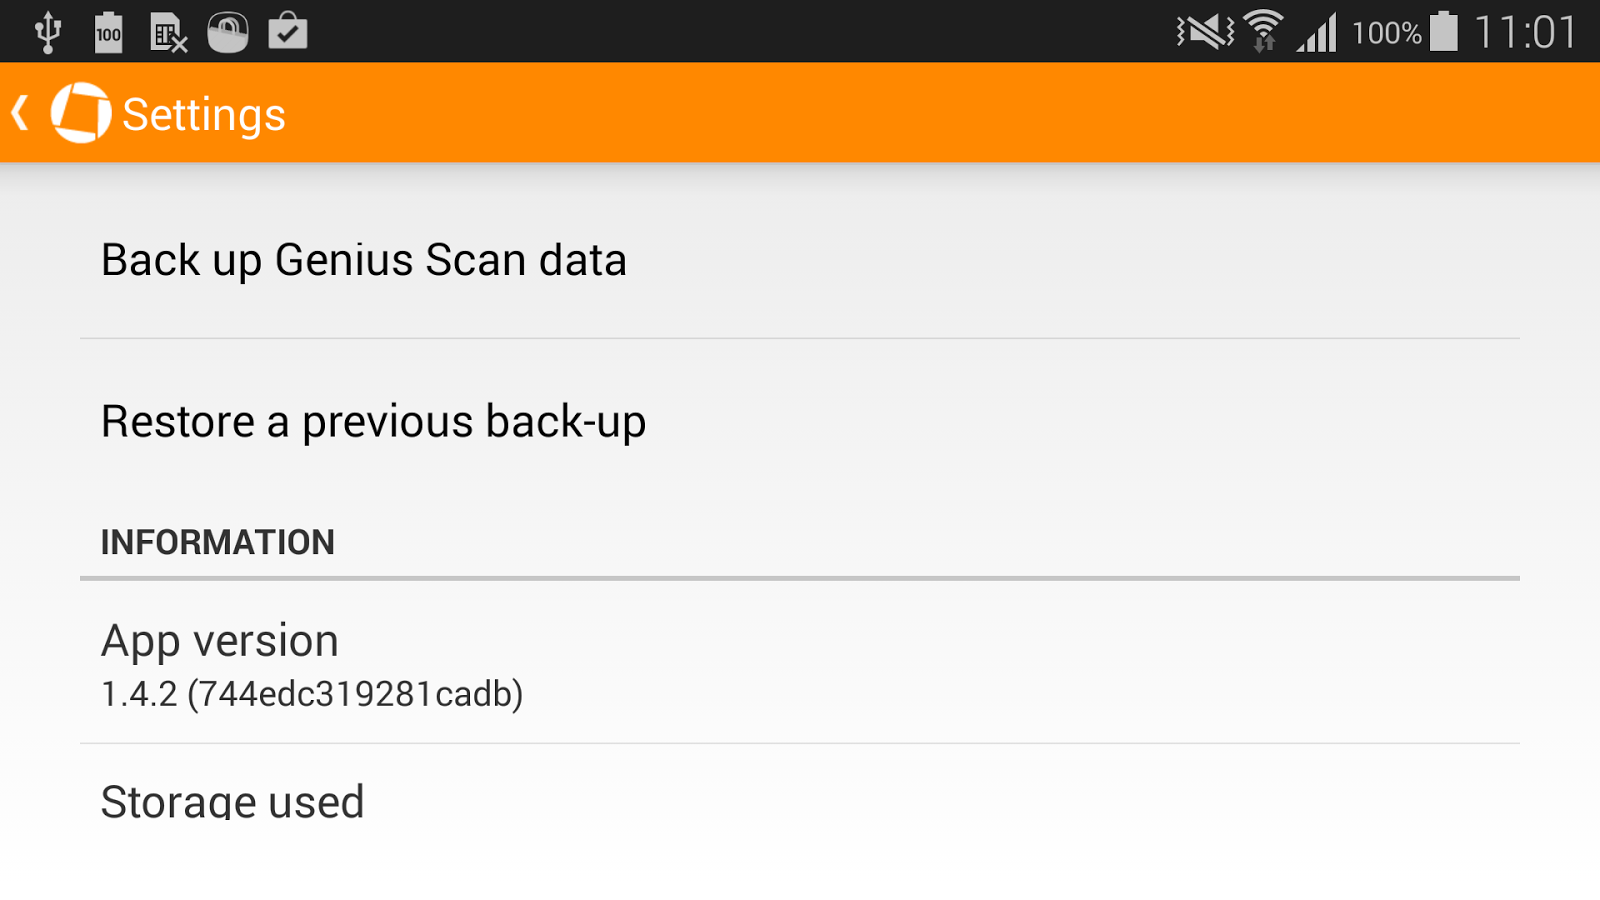
Select the backup file you want to restore
The restore operations can take up to 10 minutes if you have a lot of documents. Do not close the app or data could be corrupted.
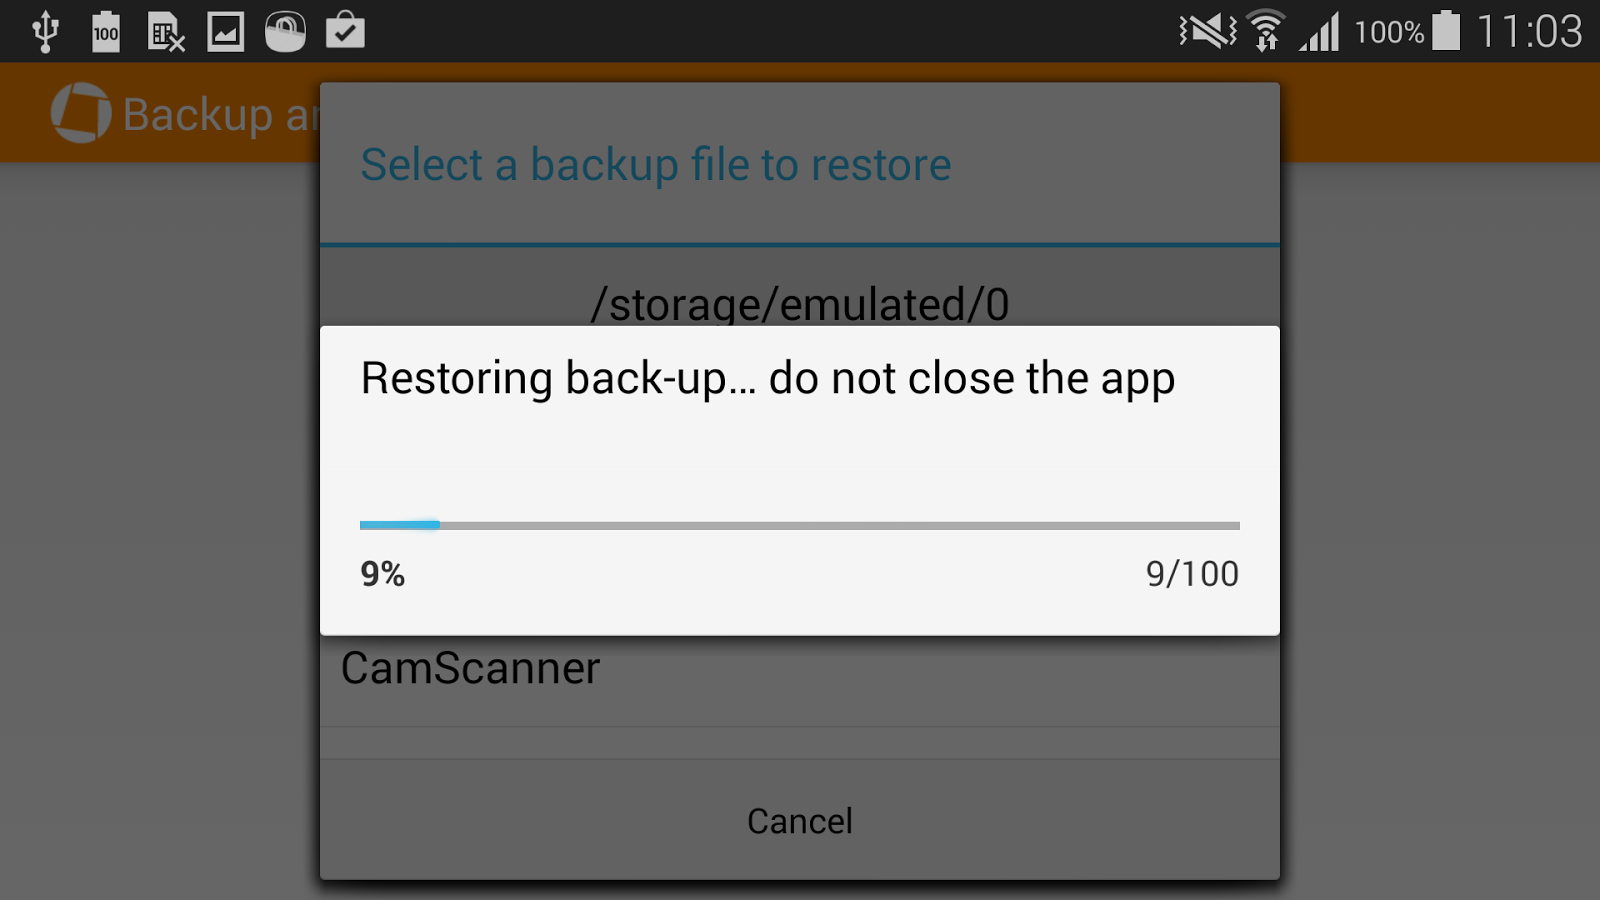
When the Restore operation is completed, the app will restart and all your documents will be ready to use :)
If you need any help backing up your data or restoring, feel free to contact us with the Help section of the app or directly at android.support@thegrizzlylabs.com.